Showing posts with label shamrocks. Show all posts

Monday, March 5, 2012

Shamrocks

We are gearing up for one of our favorite holidays - St. Patrick's Day!  Over the weekend, C and R made two different kinds of shamrocks.

They used markers to color coffee filters, then sprayed a little water on them to make the ink spread, and I cut them into shamrocks after they dried.


I used a shamrock template from DLTK to make it easier.


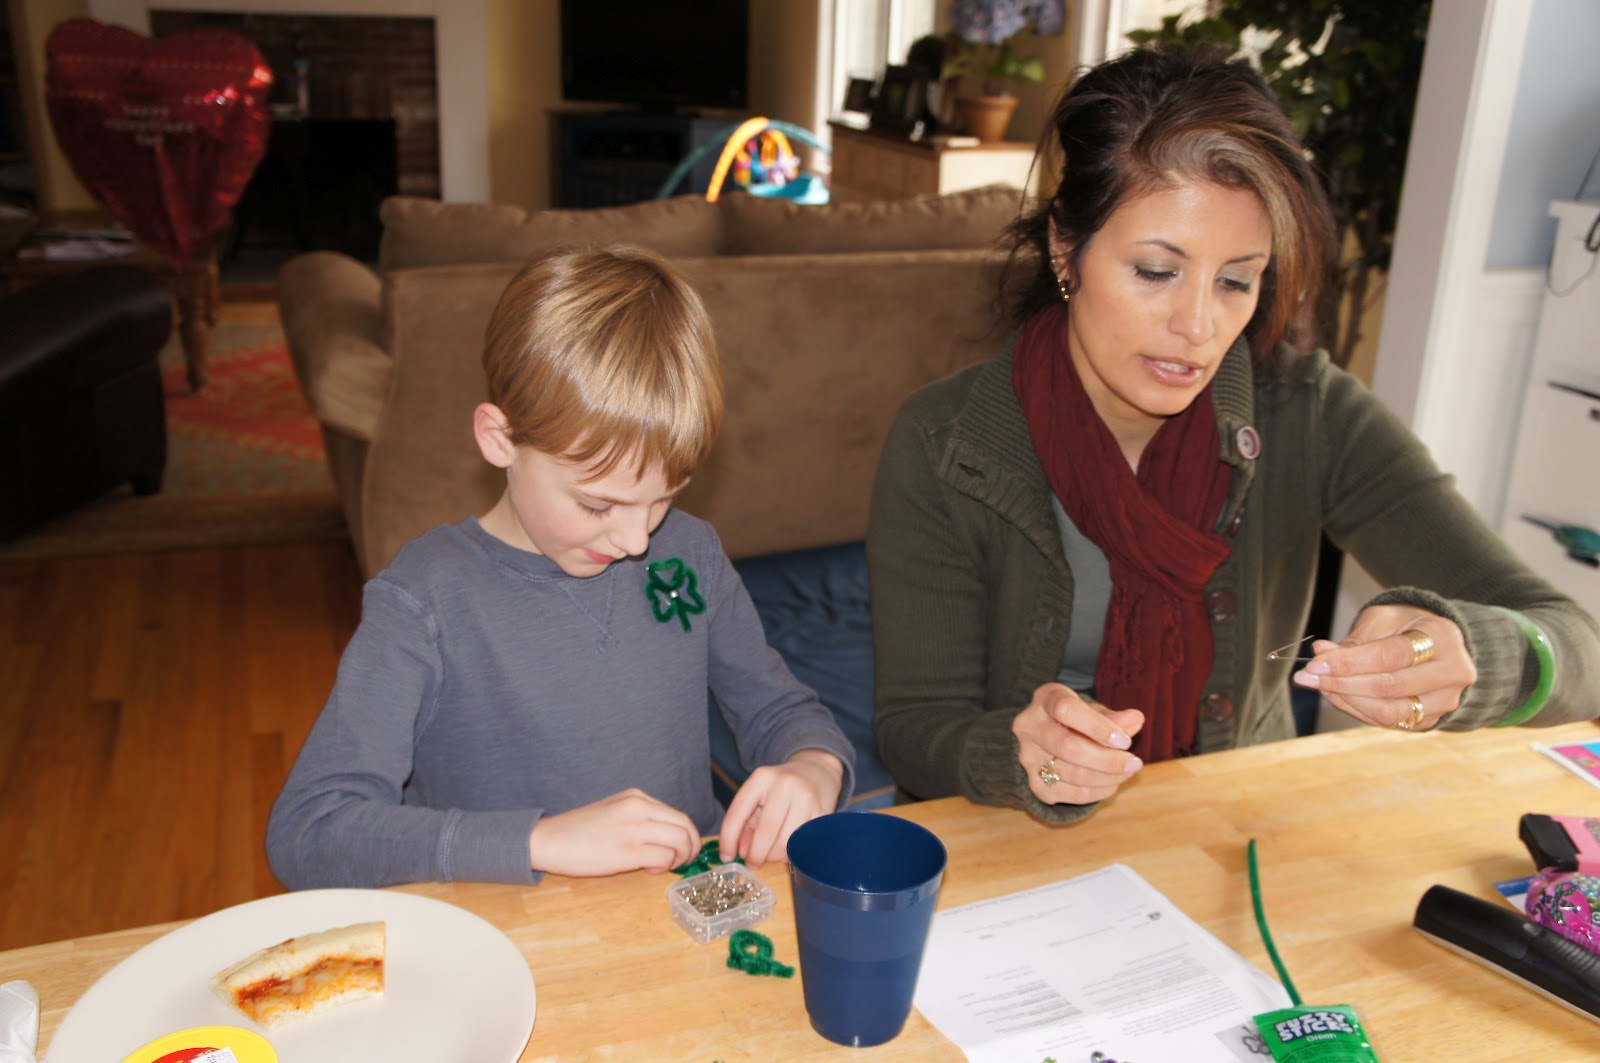
On Sunday, my cousin Sandra visited (from Florida) and taught them how to make shamrocks out of pipe cleaners and pony beads.  It was tricky at first, but they got it with Sandra's help.


The directions for the pipe cleaner shamrock can be found at Craft Elf.

Sunday, August 7, 2011

Build Your Own Shamrock Window Clings


T is currently in Ireland, where he will be until he comes home.  While he is there, we are reading a few Irish tales and having some fun celebrating everything Irish.

I have been waiting for the right opportunity to try making homemade window clings.  I remembered that Almost Unschoolers made heart window clings, and since a shamrock can be made from three hearts, I thought we would try it out.

I began by adding green food coloring to an almost empty bottle of Elmer's school glue.  Then, I turned the glue bottle upside down to let the glue mix with the food coloring.


Once it was mixed, I used the green glue to draw hearts on wax paper, and left them on the counter to dry.  I'm not sure if this is necessary, but I drew the outline of the hearts first and let that set for about ten minutes before I filled them in - I was afraid that the hearts wouldn't keep their shape otherwise.  Also, I used a pretty thick layer of glue and the hearts dried very thin, so use more than you think you need.  I made them in the afternoon and left them to dry overnight.  I was happy to see that they dried darker than they looked when wet.


Once they were dry, I carefully peeled them off the wax paper.  To make them stick to the window, I let C and R spray the window with water in a spray bottle and then stick on the shamrock pieces.


Then, I let C and R build their own shamrocks on the sliding glass door.  Warning:  they are fragile, so you have to be careful with them!  One of R's pieces got smushed a bit.


One of the tales we read while the glue was drying is The Prince of Ireland and the Three Magic Stallions retold by Bryce Milligan.


C and I really enjoyed the tale, but R only listened to the beginning.  The prince is heir to the throne, but his stepmother, the queen, is upset because she wants the throne for her own twin sons.  She puts a geis [gaysh], a deadly spell, on the prince, and he puts a geis on her.  The prince must present the queen with three magic stallions that belong to a giant or else die, and the queen must stand before a high cross fasting until the prince returns.  We were on the edge of our seats reading this tale!

Wednesday, March 17, 2010

Shamrock Cupcakes


I really wanted to make the Family Fun rainbow cupcakes for St. Patrick's Day, but R's birthday is this week and we already have leftover cake from one party and more cake to be eaten this weekend during our family party.  I had a few cupcakes in the freezer so I just took three out for my three children and gave them a little St. Patrick's day treat.  This is so quick and easy that I thought I would post the idea just in case you are looking for an easy, last minute treat for today.  I frosted the cupcakes and used three green m&m's to form a shamrock.  Then, I drew a tiny stem with green icing.  Easy enough!  Happy St. Patrick's Day!

Tuesday, March 16, 2010

Shamrock Scrunch Art


Do you remember the post I wrote recently about the princess scrunch art?  R enjoyed that activity so much (and I loved the fine motor skills practice) that we decided to make our own scrunch art.  You can do this activity with any shape, and you could even use a coloring page of a favorite character for your background.  This is how we did it:

First, I cut a shamrock shape out of light green card stock.

Next, R covered the surface of the shamrock with a glue stick.


Then, I cut dark green tissue paper into strips and R scrunched them.


Finally, she stuck them on her shamrock.  We actually took turns sticking the scrunched up tissue paper on the shamrock.  I have found that when she gets bored with an activity that I want her to finish, she is more willing to finish if we take turns.  I'm happy with this solution!

There you have it, quick, easy, and inexpensive scrunch art.  I am looking forward to making scrunch art Easter eggs soon!

Saturday, March 13, 2010

A Simple Shamrock Craft


We happen to have quite the collection of little plastic cups.  I like to keep them in our arts and crafts cabinet because every once in a while, I actually think of something fun to do with them.  This week, we turned three of them into a shamrock.

R and I used glue dots to stick the plastic cups to a piece of green construction paper.  Then she painted them with green glitter paint and drew a green stem.  Simple enough!  R loved it!

Thursday, March 11, 2010

To Catch a Leprechaun

You must have shiny things, shamrocks, and rainbows to catch a leprechaun!  We have completed two traps so far.  This is C's trap:
He designed it himself.  I only helped him fold the cardboard for his rainbow stairs. There is a slide to lure the leprechauns inside the trap.  Who can resist a slide?


R and I made this one together.  We covered a box with shiny aluminum foil and then put shiny green shamrock stickers all over the box.  I folded the cardboard to create stairs, and she colored them.  We put a shiny shamrock slide inside the trap.

We are thinking of making one more leprechaun trap together as a family because we have a great box that might guarantee success!  Now, how should we spend that pot of gold?

(C and R were featured on Natasha's News, the blog written by Natasha Wing, author of The Night Before St. Patrick's DayClick here to see them over there!)

Friday, March 5, 2010

Shamrock Sun Catcher


If you haven't noticed, we make a lot of sun catchers around here.  They look so pretty hanging in the windows!  We are hoping to catch some leprechauns this year, so we are currently in the process of decorating to lure them into our house!

To make shamrock sun catchers:
  • Draw a shamrock on transparent contact paper (do not peel the backing off yet).  Your shamrock does not have to be perfect, but if you want a template click here.  Cut out your shamrock.
  • Have your child tear green tissue paper into small pieces(I love to sneak in fine motor skills work whenever possible).  You can use different shades of green or keep it all the same, whatever you prefer.   We used dark green and light green.

  • Peel the backing off of the shamrock shaped contact paper.
  • Your child can cover the entire sticky surface with the green tissue paper.


  • When the surface is covered with tissue paper, place it on another piece of sticky contact paper to sandwich the tissue paper, and then cut out your finished shamrock.


  • You can use a hole punch to make a hole for a ribbon if you choose.  For some reason, as soon as we hung our sun catcher in the window, the sun went behind the clouds. 

    Thursday, March 5, 2009

    Counting shamrocks


    C worked on this while R napped today. He loved counting out the shamrock stickers and placing the correct amount in each box. We only did 1-8 today but we may continue with a few more numbers tomorrow. I will also have R do this with the numbers 1-5.