Wednesday, June 30, 2010

Rain Art

We have had so much beautiful weather here (not complaining at all; I'm loving it) that I have seriously been waiting and waiting to do this activity.  When it started to rain a few days ago, I quickly gathered the materials (I was afraid it wouldn't last long) and put my kids to work.  I gave them watercolor pencils and some watercolor paper and they set to work creating their own art.

Then, I told them that we would go outside and let the rain help us create art by changing the drawings a bit.  C wanted no part of this and he quickly disappeared with his drawing.  R loved the idea, of course.

She stood out in the rain for a few minutes watching it fall on her drawing.  Then she used a paint brush to blend the colors with the rain water.
This is a fun way to create art.  We love the watercolor pencils too; ours are made by Alex and I recommend them for kids!  Stay tuned for another fun art project with watercolor pencils!

Tuesday, June 29, 2010

Fireworks


C made a few special fireworks with paint, glue, water and glitter.  I mixed a few different colors of paint with a little glue, some glitter, and a tiny bit of water (the water helps it spread more easily).  I then poured the different mixtures onto a piece of black construction paper.


Using a straw, C blew the paint so that it would spread out in different directions. 


Just make sure you mix water in with the paint or you will get lightheaded trying to spread the paint with the straw (I confess, I tried it).  The "fireworks" were mostly dry in the picture at the top of this post.  C thought the fireworks looked like fireworks.  I'm not so sure, but he enjoyed the process!

Monday, June 28, 2010

Last Day of School


Today was C's last day of school.  I cannot believe that he is done with Kindergarten.  He has declared, however, that he has no interest in first grade and he is going to stay in Kindergarten forever.  I can't blame him really; his teacher is amazing, and he had so much fun in school this year.  I would love to stay in Kindergarten too!


We made rainbow jello over the weekend, and today, R and I brought the jello and some whipped cream in to C's class.  It was a great way to end the school year!

On another note, it was T's last day of school too.  He is going to be an eighth grader in the fall; that is just crazy.  I made a treat for him to share with classmates too.  He brought Mexican brownies in for the fiesta in his Spanish class.  If you have not tried Mexican brownies, you should, they are amazing!

So, summer has officially begun in our house and we are going to start working on that summer bucket list!

T's First 5k

T ran in his first 5k yesterday.  He did a great job, and we are all very proud of him! 

Saturday, June 26, 2010

Class Picture


David's Drawings by Cathryn Falwell is a book about a boy named David who draws a tree that he sees on his way to school.  One of his classmates thinks his picture needs something and this leads to each person in the class adding something to the picture.  In the end, the entire class contributed and they created a class picture.

I loved the book the first time I read it and knew it would be a fun book to read to a class of students.  I mentioned the book to C's Kindergarten teacher and she was happy to read it and create a class picture with her class.

Here is the finished class picture made by C and his classmates:


I find out about so many great books by reading blogs!  I first saw this book mentioned on What My Child is Reading at Mouse Grows, Mouse Learns. I also get book ideas from stArt (story + art = a great start) on A Mommy's Adventures.  Click on the highlighted blog names to visit the blogs for more great ideas!

Friday, June 25, 2010

Homemade Dot Stampers


I saw the idea for homemade dot stampers on Counting Coconuts a while ago; I thought it looked cool but I didn't really plan to try it.  Well, then R got beautiful flowers after her dance recital and we had the floral tubes so I just had to do it.  I'm so glad I did because R loves this activity! C enjoyed this activity too, but he did it one day when I was preparing dinner and I didn't have the chance to take pictures!

All you do is put a drop or two of food coloring in each tube and then fill the tubes with water and put the caps on.  Believe it or not, the liquid stays in the tube unless you push down on something.  I put a dish towel on the table and placed a few paper towels on top of it.


R then used her homemade blue, yellow, and red dot stampers to make some beautiful art!  You can use whatever colors you want, but all you really need is the three primary colors to add in a little lesson on color mixing.

So, next time you receive flowers with floral tubes, recycle those tubes and make art!  You could always visit your local florist or floral supply store and buy a few tubes too.

Thursday, June 24, 2010

Color Mixing Fun

I recently hosted another coffee shop story hour.  We had fun mixing colors with paint and play dough.

One of the books we read is little blue and little yellow by Leo Lionni.  In this book, little blue and little yellow are best friends, and when they hug, they turn green.  When their parents do not recognize them, they cry blue and yellow tears until they are separate again and the parents realize what happened.


Each child received a small amount of yellow play dough and a small amount of blue play dough.  They rolled each color into a ball and then combined the two balls to make green.

We also read Warthogs Paint by Pamela Duncan Edwards and Mouse Paint by Ellen Stoll Walsh.  In both books, the characters are using paint and discover that they can mix colors to create different colors.


Each child received a piece of paper and drops of paint.  On one section of the paper, I gave them a drop of red and a drop of blue; on another section, I gave them a drop of red and a drop of yellow; and on the last section, I gave them a drop of blue and a drop of yellow.  They used their fingers to mix together the drops of paint to create new colors.  Surprisingly, no one mixed everything together to make brown!

I love hosting this story hour and finding new books and art projects to share with the children.  Next month, we will have a beach theme!  If you are local, I hope to see you there.

Visit stArt (story + art = a great start) at A Mommy's Adventures  for more book projects and story stretchers.

Summer Bucket List

We have been working on our list of all the fun things we would like to do this summer.  My boys are still in school (crazy, I know) so we won't begin checking things off until next week when their summer vacation begins, but here is our list so far:
This is our list so far.  We may make changes as we go along.  What is on your summer bucket list?

Wednesday, June 23, 2010

Silly Bands Storytelling

Are your children quite literally up to their elbows in Silly Bands?  C and R have a bunch; I think they multiply while we are sleeping.  Anyway, C began using them for storytelling this week.  It was one of those proud mommy moments because it was all his idea and all I did was watch.  I thought I would share what he did so that you can try this with your kids.

He was inspired by the cowboy shaped bracelets from his collection.  He began by sorting them.


Then he drew a few pictures and added the bracelets to the completed drawings.


At this point, he invited me to listen to his story.  Here it is:

     First, the four cowboys got dressed.  Then they rode around on their horses.  They found a bull and they ran away.  Then they saw a bull fight.  The strongest bull won.  He got a trophy.


If your child is not inspired to create his or her own story revolving around Silly Bands, sit down with your child and a few of the bracelets and begin telling the story yourself.  Then encourage him to add something to the story, or even draw a picture to illustrate the story.

*I know that the brand name is actually "Silly Bandz".  As a former English teacher, it really bugs me when companies purposely spell words incorrectly.  

Tuesday, June 22, 2010

Homemade Face Paint

This is a repost from last year (C and R both look so young in these photos, especially C.  It's also funny to see pictures from our old house).  We had a lot of fun with this face paint, and making this paint is one of the things on my summer fun list (I hope to post my list this week).

Directions:
  1. In each muffin cup put: 1 tsp cornstarch, 1/2 teaspoon water (I used a little more), 1/2 teaspoon baby lotion or whatever you use on your children (something mild), and 2 drops food coloring
  2. Stir gently using separate stirrers in each cup so that you don't mix colors
  3. Paint your face, hand, belly, or entire body! We had a lot of fun with this. The paint spreads easily and washes off with soap and water.


*This recipe can be found in the cookbook, Fun with Kids in the Kitchen by Judi Rogers.

Monday, June 21, 2010

R's First Dance Recital


This weekend, R danced in her first recital.  She danced in four numbers: the opening ("Freeze Frame"), ballet ("Thank Heaven for Little Girls"), tap ("Hound Dog"), and the finale ("Last Dance").  She did a wonderful job and actually brought tears to my eyes every time she danced.  R loved every minute of the recital and is already looking forward to doing it again.  I am so proud of her! 

Sunday, June 20, 2010

Temperature Investigation


We are reading and learning about the weather right now, and I thought it was important to know a little bit about how we measure temperatures.  We bought an outdoor thermometer (they are only about $2, unless you buy the digital variety but I wanted a good old fashioned thermometer) and examined it a bit.

I asked questions:
  • What do you think the red line means?
  • What are the numbers on the side?
  • Which way will the red line move if the temperature gets hotter/colder?
  • Our thermometer has numbers in twenty degree increments (on the Fahrenheit side), so I took this opportunity to count by 10s with R and ask her what numbers fill in the blanks on the thermometer

Then we proceeded with a Sid the Science Kid experiment.  We filled one bowl with ice and put the thermometer in the bowl.  R correctly predicted that the temperature would go down.  She observed how cold the ice felt and enjoyed watching the red line move.


Then we filled a bowl with warm oatmeal.  I'm not sure why they use oatmeal on the show (the website description of the experiment lists warm water as the test), but R insisted on doing it exactly like Sid and we happened to have a packet of expired instant oatmeal so we used it in the name of science!  R loved squishing the oatmeal between her fingers (she is so different from C!) and observed how warm it felt.  She correctly predicted that the temperature of the oatmeal was higher than the temperature of the room.

R had fun moving the thermometer back and forth between the two bowls and observing the change in temperature.  We did not track the temperatures; we just noted whether they went up or down.  The big thrill was watching the red line move! 


If you would like to try some fun science experiments with your kids and don't really know what to do, check out what other bloggers have done with their kids by visiting Science Sunday at Adventures in Mommydom.

Saturday, June 19, 2010

What My Child is Reading - Ballet Books

 
Today is a special day for R - her very first dance recital!  We have been reading ballet books all week, and I thought I would highlight a few of her favorites today.


R loves both of the Ella Bella Ballerina books by James Mayhew.  Two weeks ago, I wrote about Ella Bella Ballerina and Cinderella.  That seems to be R's favorite of the two books.  Last week, we were lucky enough to see a local ballet company perform Cinderella and R enjoyed every minute of the ballet.  She loved seeing the fairies of the four seasons in the ballet after reading about them in the book.  This week, we read Ella Bella Ballerina and The Sleeping Beauty.  In this book, Ella is on stage after dance class when she is whisked off into the enchanted world of The Sleeping Beauty and tries to help save Princess Aurora.  Both of the books are fantastic and I definitely recommend them. At the end of both books, there is a page of  information about the ballets.  I found this very interesting and learned something new from each of the books.

We recently discovered the Katy Duck books by Alyssa Satin Capucilli.  We found Katy Duck Dance Star and Katy Duck Center Stage at the library this week.  They were perfect reads leading up to R's recital.

To find out what other children are reading, visit Mouse Grows, Mouse Learns.

Friday, June 18, 2010

Father's Day Gift

Most of the gifts made by kids for Father's Day usually have fish, tools, electronics, or golf on them.  That's great for other dads, but my husband does not fish, is certainly not a tool guy, is not much of an electronics fanatic, and he has only golfed twice (maybe) since I have known him.  So, I am always on the lookout for something cool that my kids can make for Dad. 

Before I go any further, if you are my husband, my father, or my father-in-law (I don't think my father-in-law even knows what a blog is, but just in case) then stop reading this right now before you ruin your surprise!

When I saw these coasters on the Frugal Family Fun Blog, I knew that C and R would be making them for Father's Day gifts.  They are perfect because it is an easy project for kids of all ages, and the end result is something very useful!  I was not going to post this (because I am afraid that my husband or father will read this post and spoil the surprise, so stop reading NOW), but I think some of my readers might like to try this with their kids.

If you want to make coasters, first go to Home Depot and buy the 4 x 4 bathroom tiles.  We bought white, but they do come in other colors.  Each tile is only 16 cents so this is a very budget friendly gift!  You also need tissue paper in a few different colors, small felt furniture protector circle thingies, and Mod Podge (I bought the glossy kind and I got it from Michael's). 

C and R each made one coaster for each of the three recipients.  They chose the colors and ripped the tissue paper.


They applied a layer of Mod Podge to one tile and then stuck the tissue paper on the tile.


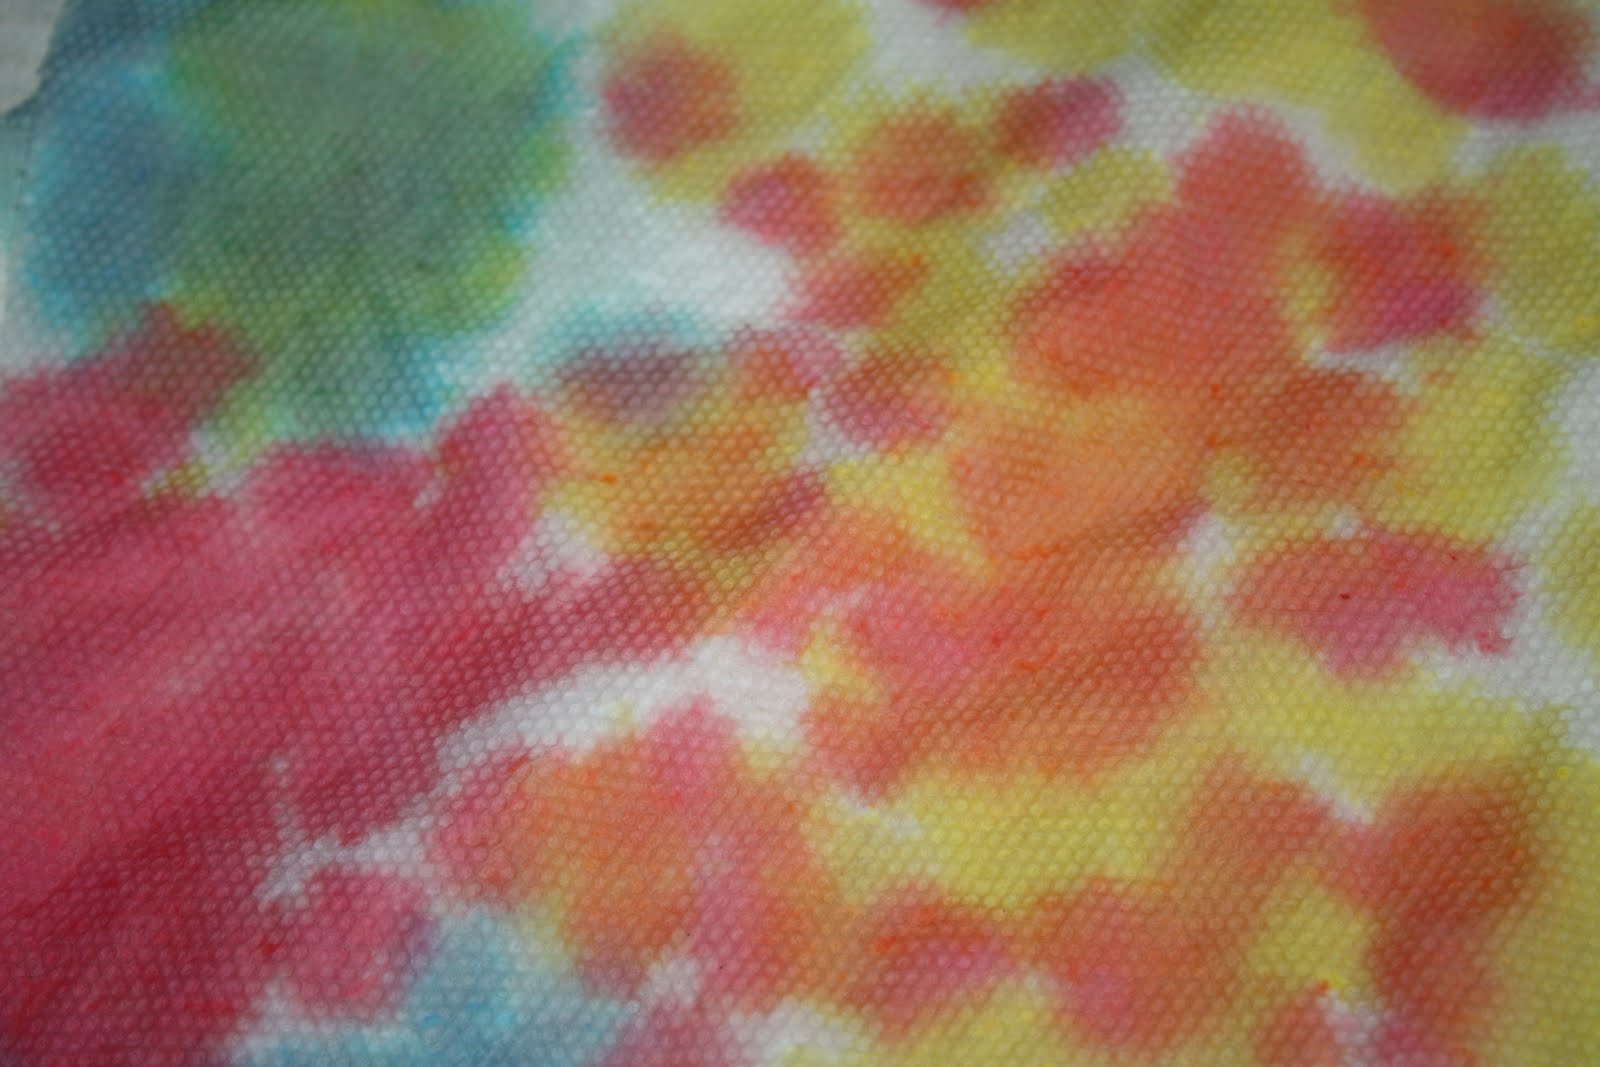
Then they applied a layer of Mod Podge over the tissue paper.  If you have never used Mod Podge before, it will look white when you apply it, but it dries clear and glossy (if you buy the glossy variety, there is a matte variety too).  Here is a picture of a few of the coasters before the Mod Podge dried:


We waited fifteen minutes for it to dry and then added another coat of Mod Podge.  I think we added one or two more layers of Mod Podge the next day because I wanted to make sure the tissue paper was really stuck on there and I also wanted the coaster to be water resistant.  We only did one tile at a time because I didn't want any chaos.  This was my first time using Mod Podge and I was a bit nervous about the whole thing!  These are the silly types of things I worry about.  Also, part of me really wanted to micromanage the whole thing and make sure that every spot of the tile was covered, but I took a deep breath and reminded myself that this is something my children are making for their father and grandfathers; it is not my gift to give.  I'm glad I let them do it their own way! 

Anyway, when everything is dry, stick the little felt circles on the back of your coasters (I put one in each corner) and you have a beautiful homemade coaster. 


They are very cool!  I am really excited about this gift.  My husband always uses a coaster, so I think he will LOVE the constant reminder of how much his children love him.

Also, if you don't have a chance to make these for Father's Day, you could have your child make holiday coasters using tissue paper in different colors for specific holidays (red and green for Christmas or orange and black for Halloween)! 

Thursday, June 17, 2010

Storm Clouds

We are reading a few books about thunder and lightning right now, so we made our own storm clouds.

I cut out four cloud shapes to make two stuffed clouds (make sure the clouds are all the same shape so that you can put them together later), and mixed a little black paint with a few drops of white paint.  C and R painted the clouds.

We stapled around the edges of the clouds, leaving an opening for stuffing.  C and R filled them with cotton balls, and we stapled them closed.

I cut lightning bolt shapes out of cereal boxes, and C and R painted them with gold glitter paint.  Then, we stapled the bolts to the clouds.

Once completed, run around the house making loud boom/crack noises just like thunder and lightning.


One of the books we enjoyed reading this week is Thunder Boomer by Shutta Crum.  This is a cute book about a summer thunder storm, complete with colorful illustrations and fun sound effects.


To see more book projects/story stretchers and book related art, check out stArt at A Mommy's Adventures.