Showing posts with label ornaments. Show all posts

Saturday, December 15, 2012

Week In Review

Collin and Reagan found Cherry on top of the world one day this week.  We wondered if he was planning Santa's route or maybe just thinking of home.  He had a letter from Santa with magic seeds and instructions.


 They followed the directions and planted the seeds.  
 Look what grew!


Another day, we found him with elf friends and elf books...maybe an elf book club?

In other news.....

I made reindeer cookies - Nutter Butters, melted chocolate, pretzel twists, candy eyes, and red m&m candies.

Collin and Reagan made ornaments.


I made special pancakes.  Originally, I planned to make Santa pancakes, but Collin and Reagan both thought they were elf pancakes, so I went with it!!!!!!  It wasn't until after Lindsay commented that I realized I forgot to give him a beard - duh! - no wonder they thought it was an elf and not Santa.  I am sleep deprived!


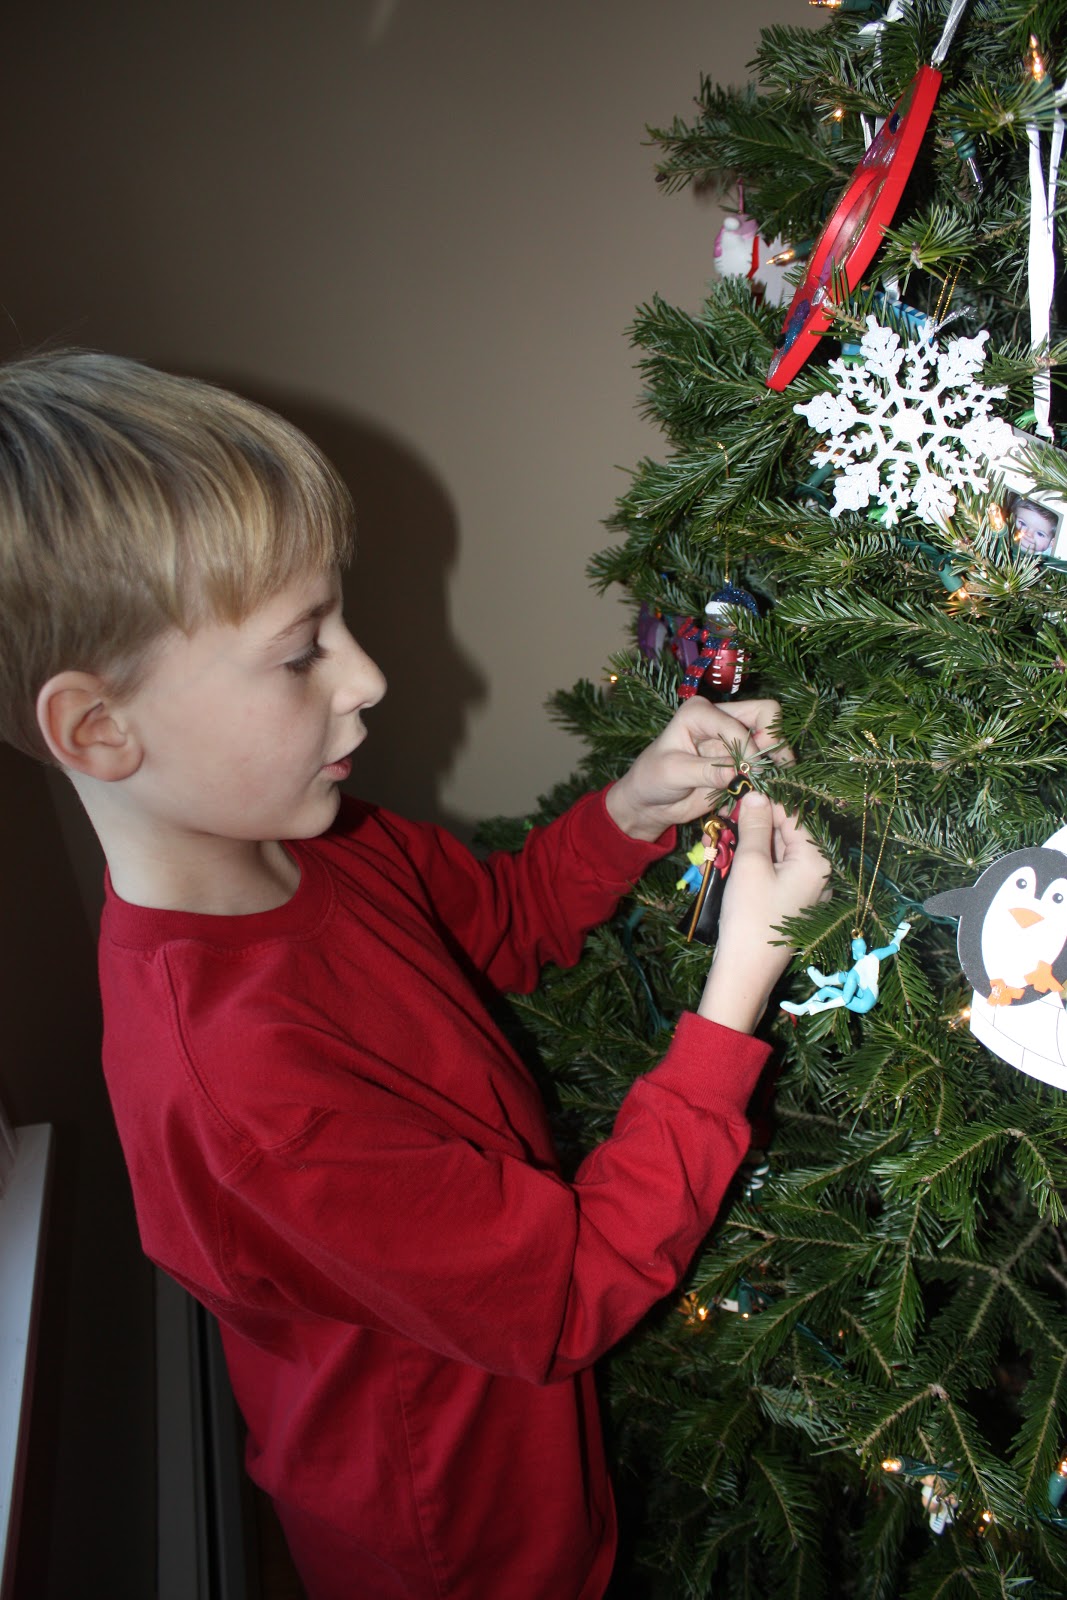
 AND we finally got a tree!  It is a beautiful tree, maybe the nicest one we have ever had.  Tom and Collin picked it out while Reagan, Kate and I were at gymnastics.


For every ornament we put on the tree, Kate took two off.  Maybe that is an exaggeration, but she took a lot off!


These pictures of our tree decorating don't show any of the arguing, crying, or whining.  Let's just pretend none of that happened!


Monday, December 12, 2011

Fingerprint Ornament


This is officially K's first craft project.  Her little fingerprint is the purple light bulb!  Honestly, she was not happy to have her finger pressed into the dough, but I'm happy to have it there.

This ornament was made using salt dough.  I used a Christmas tree cookie cutter to cut the shape out of the dough and then had each of the kids make a fingerprint on the tree (T is blue, C is red, R is pink, and K is purple).  I baked the ornament at 250 degrees for about two hours.  Once it cooled, I painted it, used a black Sharpie to add the string for the lights and the year, and covered it in Mod Podge.  I didn't make a hole in the ornament, so I just super glued a loop of ribbon on the back.

This is a modified version of an ornament I saw on Pinterest.

Saturday, November 19, 2011

Salt Dough Turkeys and Ornaments


While C and R were at school yesterday, I made a batch of salt dough.  I used some of it to form salt dough turkeys following directions from The Artist Woman.

The recipe I used is:

4 cups flour
1 cup salt
2 cups water

I mixed the dough and then rolled it out to about 1/2 inch.  Then I formed the turkeys by using a biscuit cutter for the large circle and a small biscuit cutter for the smaller circle.  I cut the dough into the feather shapes and attached them with a bit of water; then I used a skewer to draw lines to make them look like feathers.  I also cut out a beak shape and rolled a sausage shape for the head; to attach the pieces, I just wet my fingers and stuck the pieces together.  The eyes are cloves that I stuck in before baking.  For more detailed directions, click on the link in the first paragraph above - The Artist Woman gave very detailed directions about how to form the turkeys.  I baked the turkeys at 300 degrees for about two hours.

When C and R came home, they painted the turkeys and then we applied a coat of Mod Podge.


We had a lot of salt dough, so we used Christmas cookie cutters to cut out some for ornaments.  I used a straw to make a hole in them before we baked them.  The ornaments were thinner, so we baked those at 200 degrees for about two hours.  C and R painted them once they were dry.  Here are a few of the ornaments they made:


Monday, December 6, 2010

My Gingerbread Children

A few weeks ago, Leah from Almost Unschoolers posted some cute craft foam snowman photo ornaments that she made.  I love the snowmen, but I was particularly interested in the photo of the gingerbread photo ornaments she mentioned making a few years ago.  I knew we had an upcoming week of gingerbread fun and I thought I might have to make gingerbread photo ornaments myself.  I looked for a post on her blog, but I think she made them before she began blogging, so I didn't see any directions. I guess I could have asked her, but they seemed simple enough to make without directions.  And yet, I am posting directions now. 

Well, then I forgot about them until I was in the craft store and saw a kit to make your own gingerbread men photo ornaments.  The kit made 35 ornaments (I only wanted 4) and it was expensive ($15!), so I bought some materials (about $2) and decided to make my own.  This is how I did it:

Materials:
  • one large sheet of brown craft foam
  • one gingerbread man cookie cutter
  • one sticky back white sheet of craft foam
  • gumdrop stickers (these were left over from our paper bag gingerbread houses; they aren't necessary)
  • photos (I used wallet size school photos for the kids and printed a small picture of Kelly (our dog))
Directions:

First, I traced around the gingerbread man cookie cutter using a white pencil on the brown craft foam.  I traced it four times and cut them out.


Then, I cut out some squiggly white sticky back pieces to look like icing.  Believe it or not, I could not freehand it to look right, so I drew some squiggly lines on the paper backing and cut them out.  I stuck the lines on to make two gingerbread girls (the line along the bottom makes it look like a dress) and two gingerbread boys.


I stuck the gumdrop stickers on to look like buttons.  You could use the white sticky craft foam to make buttons or you could use a different color. 

Finally, I cut out pictures of my three children and my dog.  I used the wallet size school pictures and tried to cut as close to their faces as possible so that the background would not show.  I used regular Elmer's glue to stick the pictures on.

The last step is to poke some ornament hooks through the top of them and hang them on the tree!

Tuesday, December 15, 2009

Shrinky Dink Ornaments


Shrinky Dinks are so much fun. You may remember when C made shrinky dinks backpack bling. We had so much fun in the past with shrinky dinks, so I was very excited when I had the idea to make Christmas ornaments with shrinky dinks paper.

I cut one 8x10 piece of shrinky dinks paper in half and gave C and R each a piece to decorate. Before they began drawing, I asked them which way they were going to draw their pictures so I could punch a hole in the top. They used colored pencils to draw Christmas pictures.

C's picture is on the left and it is an elf surrounded by some of the toys he made for Christmas. I love the little toy Wolverine up on the top shelf.


R's picture is Santa's sleigh filled with presents. She was so excited to do this.

Here they are when they came out of the oven:

We really loved this activity, and I love that C's and R's art can be preserved in the form of Christmas ornaments!

Wednesday, December 9, 2009

A Favorite Tradition


A few years ago, we began a new tradition. Every year we buy photo frame ornaments with the year on them and put a photo of each child and our dog in the frames. I love looking at the photos of them over the years as we decorate the tree. Eventually, our tree will be covered with the smiling faces of our children. This is by far one of my favorite traditions!