Showing posts with label St. Patrick's Day craft. Show all posts

Thursday, March 19, 2015

St. Patrick's Day

Kate made a rainbow with a puffy cloud for St. Patrick's Day.


I drew shamrocks on a few coffee filters, and put them on a tray with droppers in cups of blue and yellow liquid watercolors.  Kate loves using droppers, and this was a great opportunity to work on color mixing; blue + yellow = green.


Don't they look pretty in the window?

Edible rainbow necklaces were also great for fine motor skills practice!  

I gave all of the kids a little extra Irish love.


And, of course, even though we never got around to making a leprechaun trap this year, one of those mischievous little creatures still stopped by to turn our toilet water green, knock over some chairs, write on our bathroom mirror, and leave behind a shamrock trail to the annual gift of Lucky Charms.


I did my best to balance out that sugar with the very best rainbow treats.


Sunday, March 16, 2014

Seven Days of Luck - Days Five and Six

On the fifth day of our seven days of luck, the girls made shamrock shirts.

I cut shamrock shapes out of freezer paper, and ironed them on (shiny side down) to white shirts.  For Kate's shirt, I used a pencil eraser dipped in green fabric paint to outline the shamrock and then make dots around the shamrock.


Kate wanted to help a little; she made a few dots on her shirt.

Reagan outlined her shamrock, but chose a different design.


We let the paint dry and then peeled off the freezer paper.


Later in the day, we had "pots of gold"!

On the sixth day (today), I made shamrock bread by rolling biscuit dough into long ropes and then forming seven of those ropes into the shamrock.  I brushed on egg and then sprinkled on about 1/2 tsp of garlic salt and a little Italian seasoning.  I then baked it until golden brown.


Monday, March 5, 2012

Shamrocks

We are gearing up for one of our favorite holidays - St. Patrick's Day!  Over the weekend, C and R made two different kinds of shamrocks.

They used markers to color coffee filters, then sprayed a little water on them to make the ink spread, and I cut them into shamrocks after they dried.


I used a shamrock template from DLTK to make it easier.


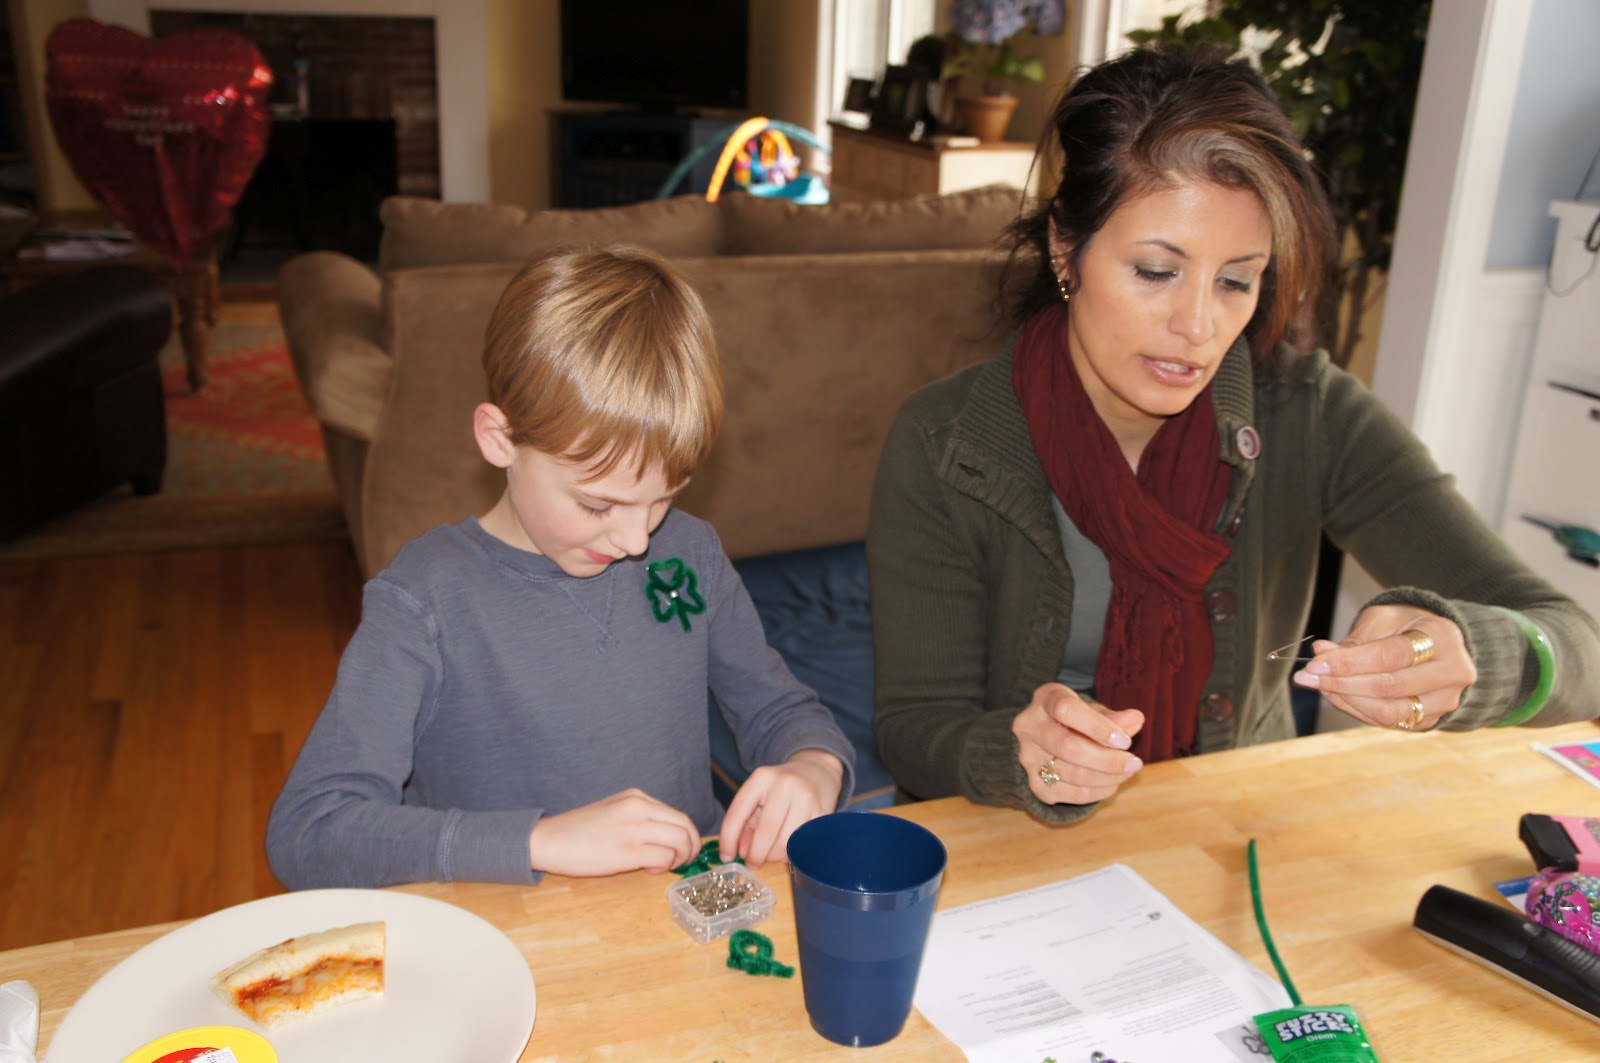
On Sunday, my cousin Sandra visited (from Florida) and taught them how to make shamrocks out of pipe cleaners and pony beads.  It was tricky at first, but they got it with Sandra's help.


The directions for the pipe cleaner shamrock can be found at Craft Elf.

Sunday, August 7, 2011

Build Your Own Shamrock Window Clings


T is currently in Ireland, where he will be until he comes home.  While he is there, we are reading a few Irish tales and having some fun celebrating everything Irish.

I have been waiting for the right opportunity to try making homemade window clings.  I remembered that Almost Unschoolers made heart window clings, and since a shamrock can be made from three hearts, I thought we would try it out.

I began by adding green food coloring to an almost empty bottle of Elmer's school glue.  Then, I turned the glue bottle upside down to let the glue mix with the food coloring.


Once it was mixed, I used the green glue to draw hearts on wax paper, and left them on the counter to dry.  I'm not sure if this is necessary, but I drew the outline of the hearts first and let that set for about ten minutes before I filled them in - I was afraid that the hearts wouldn't keep their shape otherwise.  Also, I used a pretty thick layer of glue and the hearts dried very thin, so use more than you think you need.  I made them in the afternoon and left them to dry overnight.  I was happy to see that they dried darker than they looked when wet.


Once they were dry, I carefully peeled them off the wax paper.  To make them stick to the window, I let C and R spray the window with water in a spray bottle and then stick on the shamrock pieces.


Then, I let C and R build their own shamrocks on the sliding glass door.  Warning:  they are fragile, so you have to be careful with them!  One of R's pieces got smushed a bit.


One of the tales we read while the glue was drying is The Prince of Ireland and the Three Magic Stallions retold by Bryce Milligan.


C and I really enjoyed the tale, but R only listened to the beginning.  The prince is heir to the throne, but his stepmother, the queen, is upset because she wants the throne for her own twin sons.  She puts a geis [gaysh], a deadly spell, on the prince, and he puts a geis on her.  The prince must present the queen with three magic stallions that belong to a giant or else die, and the queen must stand before a high cross fasting until the prince returns.  We were on the edge of our seats reading this tale!

Wednesday, March 16, 2011

St. Patrick's Day Jello Stickers


C and R really enjoyed making Jello stickers for Valentine's Day, so we decided to revisit this with green lime Jello for St. Patrick's Day.

I printed free printable St. Patrick's Day stickers from StickersandCharts.com.  Then I mixed together 1 TBSP of green lime Jello with 2 TBSP of boiling water.  I poured the Jello mixture into two bowls.


C and R painted the entire back of the pages I printed and left them to dry.  Once the pages were dry, I cut out all of the stickers. 


C and R thoroughly enjoyed licking the Jello stickers and sticking them on paper.  They plan to put the festive papers next to their leprechaun traps tonight!

This is going to be one of those activities that we do over and over and over again! 

Tuesday, March 15, 2011

Hand Print Leprechauns

When I saw the hand print leprechauns at Meet the Dubiens, I knew we had to make some of our own.  I love hand print crafts!

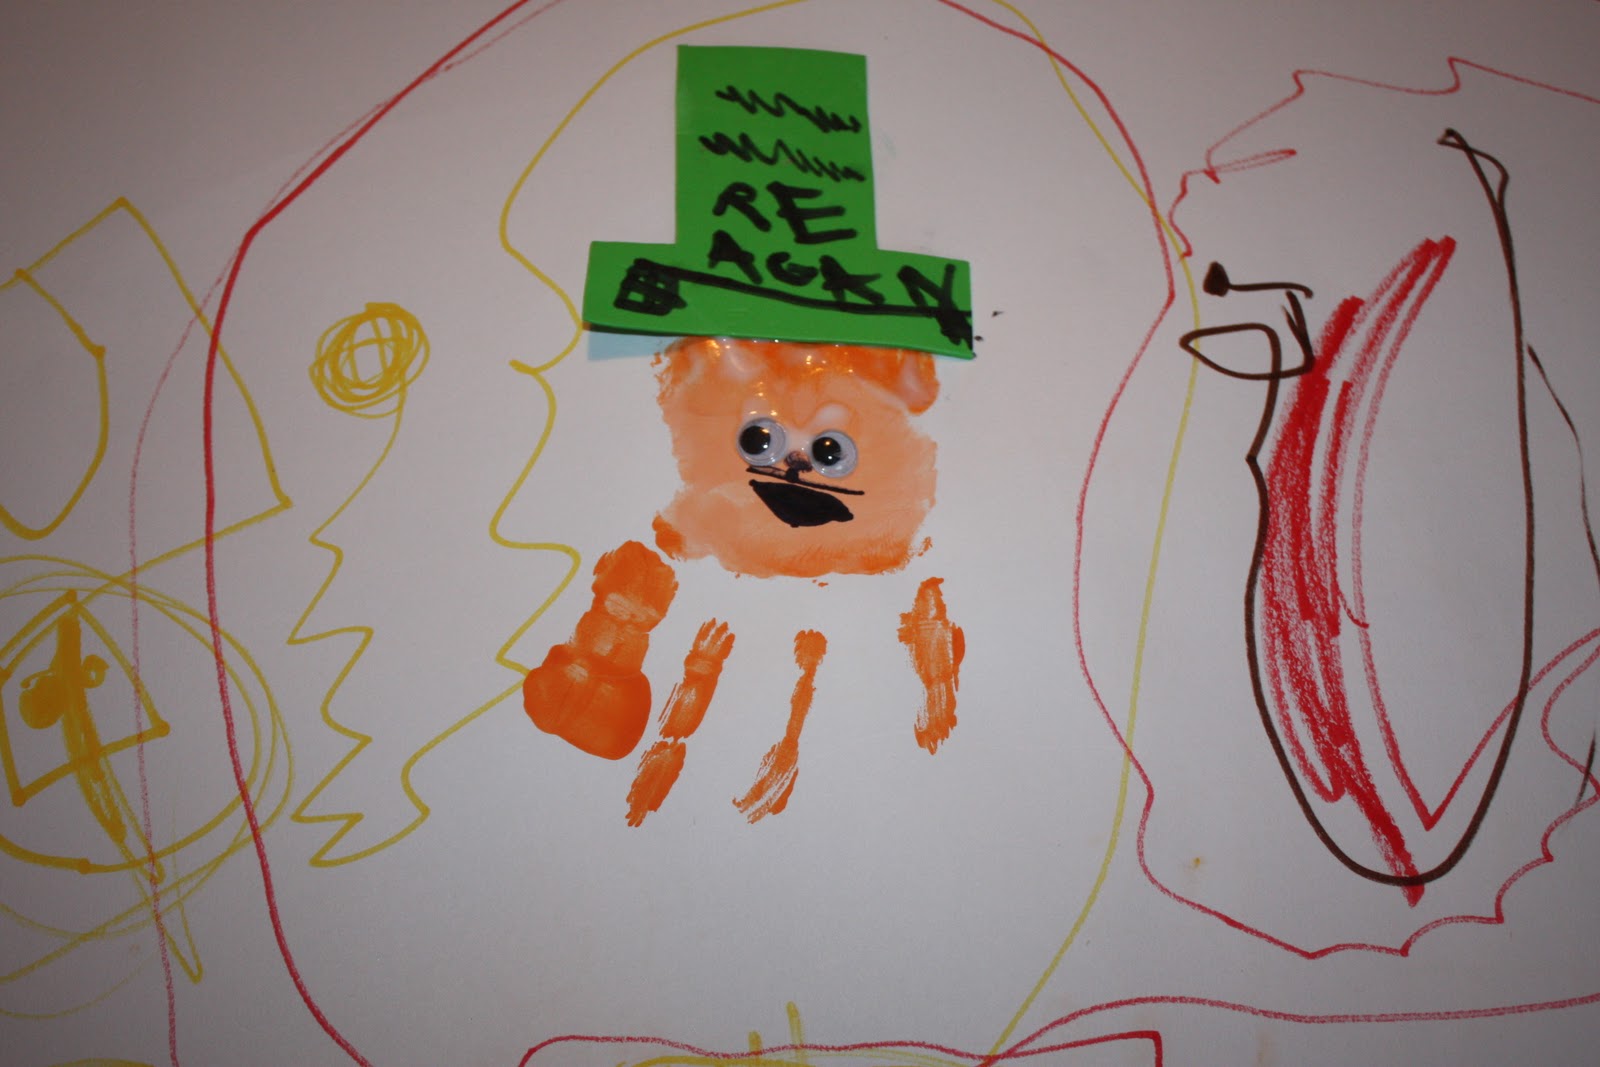
To make the leprechauns, I painted C's and R's fingers and bottom of their palms orange (beard and hair), and painted their palms peach (face).  They pressed their hands onto white paper to make the print.
 

Once the prints were dry, we added fun foam hats and googly eyes.  C and R used markers to add details to their pictures.


I love that C's leprechaun has handfuls of gold!!!!  I also love the way he drew the leprechaun's body.


I laughed when R gave her leprechaun a black mustache!  She also drew a trap all around the leprechaun; I thought this was pretty clever!

They had a lot of fun with this craft!

Sunday, March 6, 2011

Pot of Gold Craft


Every St. Patrick's Day Eve our house is visited by a few leprechauns who play some silly tricks and cause a little mischief.  We have never managed to find a pot of gold, but the leprechauns are usually nice enough to leave behind a few gold coins of the chocolate variety.  This year, we made door hangers for C and R's bedroom doors.  Hopefully, the leprechauns will leave a little something in each one.

I began with directions for an Irish Door Hanger from the free kid crafts website, but I changed ours a bit to give them pockets for holding a little treat.

I cut two paper plates (one for C and one for R) to look like a rainbow coming out of a pot.


Then, C and R colored them accordingly.


Once they were done, I cut another paper plate in half and stapled the half to the back of the "pot".


We are currently reading Lucky O' Leprechaun by Jana Dillon.  This book came highly recommended by my friend Christine and her daughter Jessica; I'm so glad they told us about it!  On the eve of St. Patrick's Day, the O'Sullivan kids, Meghan and Sean, are sent to stay with their grandaunties.  The aunties tell them that a leprechaun, Lucky O'Leprechaun, followed the O'Sullivans from Ireland to America and he lives under one of the thornbushes in the yard.  The children are determined to catch Lucky, and they develop a clever plan to accomplish the deed.  You have to read the book to find out what happens!

Now, it's time to get to work on our leprechaun traps.  We just might get that pot of gold this year!