Showing posts with label Christmas crafts. Show all posts

Tuesday, December 17, 2013

Kate's Tree

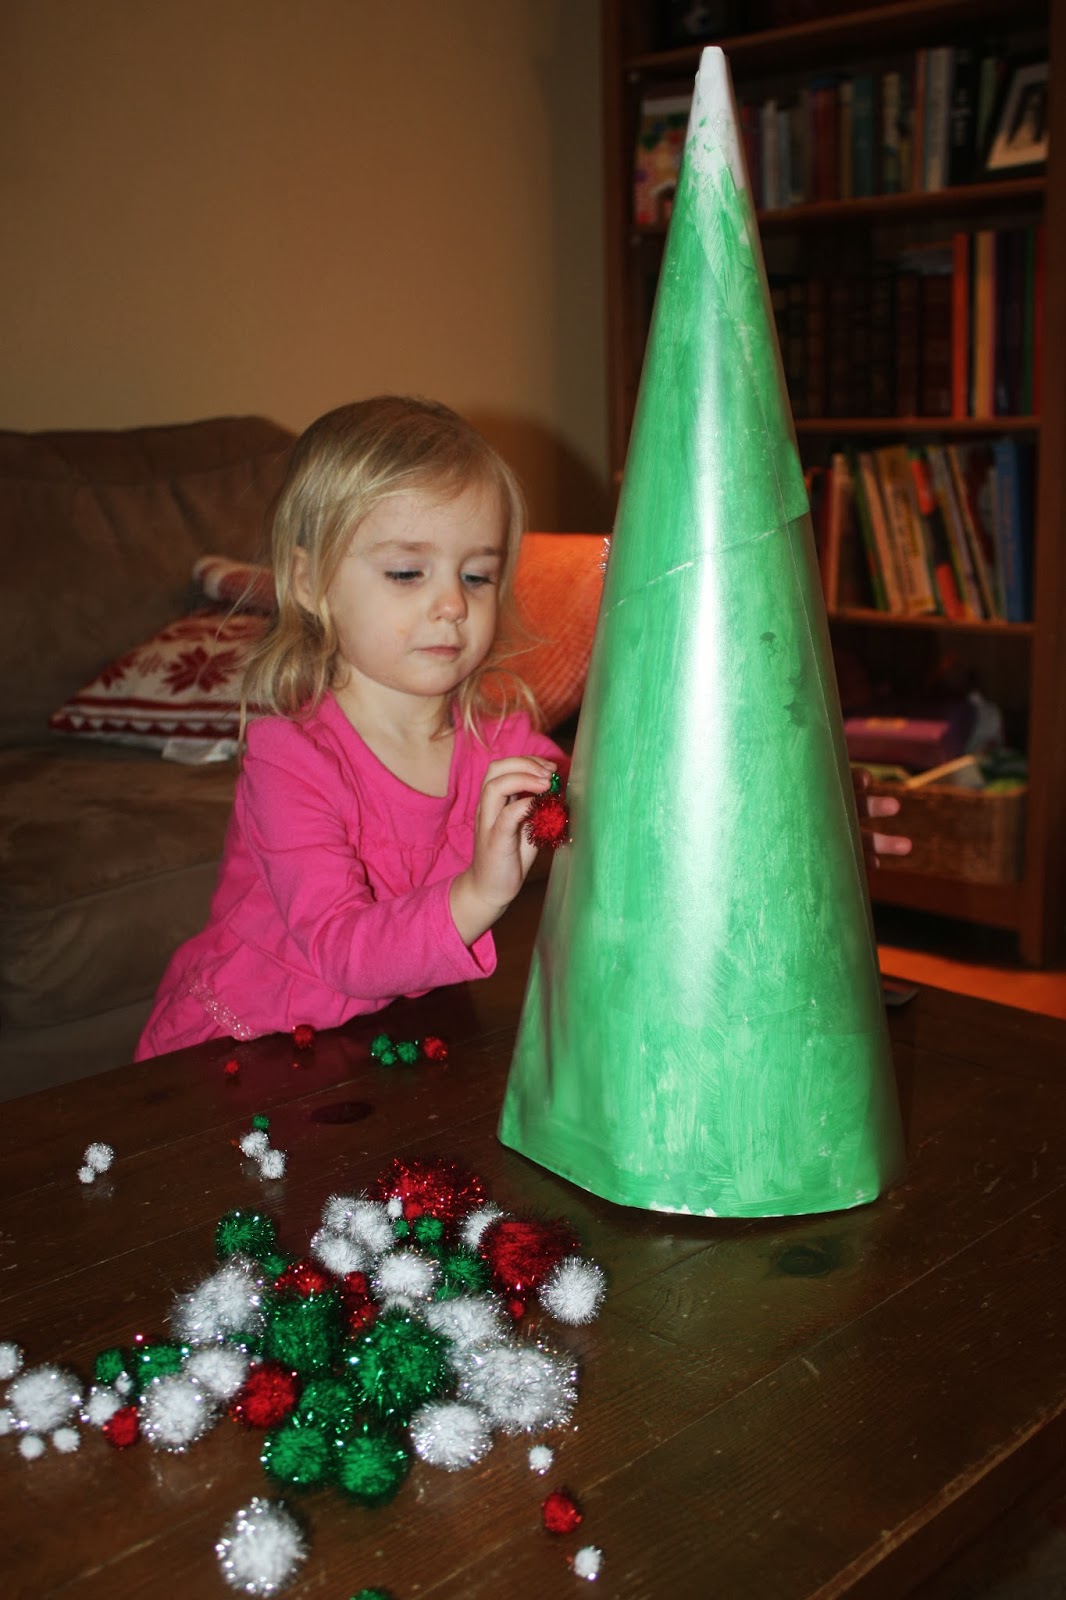
I rolled a piece of poster board into a cone shape, taped it, and let the girls paint it green.


Once it was dry, I covered it with contact paper (sticky side out), and gave it to Kate to decorate with some pom poms and stickers.

This kept her entertained for quite a while this morning, and I'm sure she will continue to add and remove decorations over the next few days.  Most likely, Reagan will add some decorations too!

Saturday, December 17, 2011

R's Christmas House

R made a Christmas House in school.  I love this project, and the kids do too.  It's so great that they can have a little Christmas in public school!

The Roof - Santa's sleigh pulled by a reindeer, the chimney, snow, and lights


I love the tree!  Notice the pattern work of the beads.

The photo over the fireplace is so precious!


C made one when he was in Kindergarten too.

This picture makes me smile for so many reasons.  It was our first year in this house (we moved the week of Thanksgiving, so we had only been here a few weeks when this photo was taken) and we no longer have that wallpaper in the kitchen.  Also, in the background on the refrigerator, you can see a drawing by C of our new house.  

I hope to have these as part of our Christmas decor for many years to come.  They are my favorite decorations!

Monday, December 12, 2011

Fingerprint Ornament


This is officially K's first craft project.  Her little fingerprint is the purple light bulb!  Honestly, she was not happy to have her finger pressed into the dough, but I'm happy to have it there.

This ornament was made using salt dough.  I used a Christmas tree cookie cutter to cut the shape out of the dough and then had each of the kids make a fingerprint on the tree (T is blue, C is red, R is pink, and K is purple).  I baked the ornament at 250 degrees for about two hours.  Once it cooled, I painted it, used a black Sharpie to add the string for the lights and the year, and covered it in Mod Podge.  I didn't make a hole in the ornament, so I just super glued a loop of ribbon on the back.

This is a modified version of an ornament I saw on Pinterest.

Tuesday, December 6, 2011

Tree Decorating Party


The tree decorating fun began on Friday after school.  I made a special snack.  I used Santa and tree picks (Target) for the fruit, and I dipped pretzels in melted red and green chocolate and then sprinkled them (before the chocolate hardens) with crushed candy canes and sprinkles.


C and R decorated the little trees with stickers and then moved on to this tree:

I used green masking tape to make the tree.

This is still a work in progress, but I love it so far.


Next, they decorated the little trees they have for their bedrooms.


Finally, on Saturday morning, C and R went with Dad to pick out a real tree.  We left it in the garage over night and decorated it on Sunday morning.


We read 

 Little Tree, poem by e.e. cummings, story and paintings by chris raschka.  The poem is a tribute to a tiny Christmas tree, and it inspired this lovely story about a little tree that dreams of holiday stardom.  We own this book because I fell in love with it a few years ago and knew it was a book we had to own.

Saturday, November 19, 2011

Salt Dough Turkeys and Ornaments


While C and R were at school yesterday, I made a batch of salt dough.  I used some of it to form salt dough turkeys following directions from The Artist Woman.

The recipe I used is:

4 cups flour
1 cup salt
2 cups water

I mixed the dough and then rolled it out to about 1/2 inch.  Then I formed the turkeys by using a biscuit cutter for the large circle and a small biscuit cutter for the smaller circle.  I cut the dough into the feather shapes and attached them with a bit of water; then I used a skewer to draw lines to make them look like feathers.  I also cut out a beak shape and rolled a sausage shape for the head; to attach the pieces, I just wet my fingers and stuck the pieces together.  The eyes are cloves that I stuck in before baking.  For more detailed directions, click on the link in the first paragraph above - The Artist Woman gave very detailed directions about how to form the turkeys.  I baked the turkeys at 300 degrees for about two hours.

When C and R came home, they painted the turkeys and then we applied a coat of Mod Podge.


We had a lot of salt dough, so we used Christmas cookie cutters to cut out some for ornaments.  I used a straw to make a hole in them before we baked them.  The ornaments were thinner, so we baked those at 200 degrees for about two hours.  C and R painted them once they were dry.  Here are a few of the ornaments they made:


Thursday, December 23, 2010

Christmas Coal

C is obsessed with coal.  He has actually requested coal for Christmas.  Real coal, not the pretend stuff or the coal candy, no, he wants real coal. 

Anyway, this all started with Lemony Snicket.  C and I read The Lump of Coal this week.

He loved it.  The book is about a lump of coal with a dream to become an artist.  If you don't know already, C is my artist.  He loves to draw and create, so he was immediately smitten with this lump of coal and his artistic dreams.  But, when we got to the page that mentions coal turning into diamonds, C's eyes lit up and he wanted to know more.  Hopefully, we will spend some time learning about coal and diamonds over Christmas vacation, but for now he is drawing pictures like this:


In case you didn't know, that is coal becoming a diamond.  That is the way he imagined it happens.  Now, there was no way that I was going to let him draw that coal with a plain old black crayon.  I had to visit my friends at Almost Unschoolers and follow the directions posted there to make lumps of coal out of black crayons.  It was easy enough; five unwrapped black crayons went into the oven (250 degrees for 5-10 minutes) in a foil pie pan until they were melted and then I used a plastic spoon to scoop the melted wax into coal shapes.  This made two lumps of coal and they were ready to be used for coloring in just a few minutes.  C was thrilled.

Saturday, December 18, 2010

The Nutcracker

We are going to see The Nutcracker performed by a local ballet company tomorrow.  By "we," I mean C, R, and me.  Dad has decided that he is done with live performances of any kind.  He declared himself done with any kind of theatrical production after we (he and I) saw Wicked last January, and he declared himself officially done with all live performances after we saw The Radio City Christmas Spectacular a few weeks ago.  I don't know how anyone could dislike theater, but he does.  T has no interest in theatrical productions either.  Anyway, I took C and R to see The Nutcracker for the first time last year and they both enjoyed the show.  C really enjoys the battle between the mouse king and the nutcracker; R likes the whole show.  To gear up for the production, we read a few books and found a simple craft to complete.

We own two Nutcracker books that we read this week.

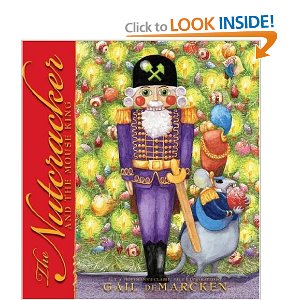
The Nutcracker and the Mouse King, E.T.A. Hoffmann's Classic Tale illustrated by Gail DeMarcken - This book is beautifully illustrated.  C likes to read this year round, but it is a bit long for R.   

The Nutcracker by Susan Jeffers is the perfect Nutcracker book for young children.  As the author notes at the end of the book, her version follows the story of the beloved ballet and speaks to a child.  I bought this book last year before we went to see the performance, and it was a great introduction to the ballet.

We also read Christmas Morning by Cheryl Ryan.   This is a fun book that is written in the format of This is the House that Jack Built.  It begins with snow falling on a house where children are sleeping, and after several pages, it builds up to Saint Nick delivering presents to the sleeping family.  We see an eye peeking out of a package, and a few pages later we discover that it belongs to the Rat King,who leads his pack and kidnaps the doll in the stocking next to them. A Nutcracker and other toys come to the rescue, so that all is back to normal by Christmas morning.


In addition to reading the books, I printed Nutcracker characters on card stock, C and R colored them, and we glued them to craft sticks to make puppets.  Now we can have our own production of the Nutcracker.

For more book recommendations, hop on over to What My Child is Reading at Mouse Grows, Mouse Learns. 
   

Thursday, December 16, 2010

A Christmas Story Hour

I hosted story hour at our local coffee shop today.  We had a great crowd this month.  Our theme was Christmas trees, and we shared three books:

The Biggest Christmas Tree Ever by Steven Kroll is about two mice, each on his own search for the perfect Christmas tree.  When they both find the same tree, they decide to work together to create the biggest and most beautiful Christmas tree ever. 

If You Take a Mouse to the Movies by Laura Numeroff is a fun book to read this time of year because Mouse does so many of the things kids love to do at Christmas time.  He makes ornaments, builds a snowman, decorates a Christmas tree, and more.


Merry Christmas Mouse by Laura Numeroff features many of the illustrations from If You Take a Mouse to the Movies.  The text is simple and it  is a cute counting book for young preschool aged children.  This was a good third book for our story hour because from experience I have found that the kids need more than two books, but not quite three books!  This book is very short and the kids like to count the ornaments on each page.  Of course, this means they climbed all over me to see each page close up, but that was fine!  I felt loved!

After reading together, the children made their own Christmas trees.  My original plan was to give each child glitter paint and corks so they could stamp ornaments on their trees, but we had a large crowd so I opted for a mess free version from Frugal Family Fun.  I gave each child two identical tree shapes that I had cut out of green card stock and some mini color coding labels. 


They decorated both sides of each tree with the labels.  Next, I cut one of their trees from the bottom up to the middle and the other one from the top down to the middle and fit both trees together.  I should mention that I quickly learned  (after the first child) that I had to tell each child ahead of time that I would be cutting his or her trees to fit them together to make one beautiful Christmas tree.  There were no tears or anything, but the first child was very concerned about me cutting his trees!  Two Post-it star shapes finished each of the Christmas trees.


Thank you to Cuppers Cafe for providing free hot chocolate for all of the story hour guests and for providing a wonderful place for us to gather, read, and create together! 


Thank you to my friend Robin for helping me every month; if you click on her name, you can check out her blog where she posts pictures of the amazing cakes that she makes! 

Last, but not least, thank you to all of the moms who attended story hour and allowed me to take pictures of their children and share them here (I didn't get pictures of all of the kids this month; it was a bit hectic)!