Sunday, October 31, 2010

Giveaway!


It's that time of year when we all have to start thinking about cards.  Whether you need Christmas Cards, Holiday Cards, or Photo Cards, CardsDirect offers the very best in personalized greeting cards for business or personal use.  They have over 2,000 card designs!  I'm sure you will find something that you love.  I love the Christmas Photo Cards; I just have to manage to take a decent photo.

They also offer free personalization and custom imprinted verse.  I highly recommend CardsDirect because they have a great selection, an easy online ordering process, top quality cards, great prices, and fantastic customer service. 

I am thrilled to offer one of my readers a fantastic giveaway!!!  One person will receive up to 25 cards up to a $50 value at CardsDirect.  To enter this giveaway, leave me a comment letting me know whether you send holiday cards and what type of holiday cards you usually send.  This contest is open immediately upon posting and will close on Friday, November 5, 2010 at noon (Eastern Time).

Special thanks to CardsDirect for the free product in exchange for hosting this giveaway.  

Happy Halloween!

Saturday, October 30, 2010

Super Quick Last Minute Spider Treat


My kids do not need any extra sugar right now, but sometimes I just can't help myself.  So, when I had this idea, I just went with it.

Ingredients:
  • one Reese's peanut butter cup (we used dark chocolate, but any variety will do)
  • a tiny bit of melted chocolate (I melted a few chocolate chips)
  • four pretzel sticks broken in half to make eight spider legs
  • two candies for eyes
Directions:
  • Place the peanut butter cup upside down on a plate
  • Melt your chocolate 
  • Dip each pretzel stick half into chocolate and stick them to the sides of the peanut butter cup to make legs
  • Dip the candies in the melted chocolate and stick them on top for eyes

Don't worry about perfection - the kids certainly don't care.  Enjoy!  Have a happy Halloween!

Utah

We began our Fifty States Project over one year ago.  C, R, and I are slowly working our way through the states, enjoying it every step of the way.  If you would like to read about our method of studying the states, click here to read an old post I wrote. 

We are currently learning about the state of Utah.  I usually let C and R pick the state that we study, but I chose this one simply because of the book The Wheat Doll by Allison L. Randall.  The book is based on a true story of a young girl named Mary Ann Winters who lived in the territory of Utah in the late 1800s.


Mary Ann had a doll that she made out of wheat, and the doll was her best friend.  One day, Mary Ann left her doll in the garden and was unable to retrieve it due to a severe storm that moved in quickly.  She was unable to find her doll after the storm, but never gave up looking.  When winter turned to spring, Mary Ann made a surprising discovery.  You will have to read the book to find out what happened, but it is definitely worth reading.

C and R were not interested in reading this book initially.  We had it in the library basket for two weeks before they would even consider letting me read it to them.  Two pages in and they were both hooked.  They both felt so sad when Mary Ann lost her doll, and they both LOVED the spring discovery.  C and R were also shocked to learn that the doll was most likely the only toy that Mary Ann had.  Just imagine, ONE TOY!!! 

The illustrations by Bill Farnsworth are so perfect for this book.  They were created in oil on canvas and possess an old fashioned quality that really draws the reader into the book.

This is truly a heartwarming story of loss and renewal.  It is not often that I rave this much about a book, but this is one that I will be sad to return to the library (I have already reached my limit on renewing it and it is overdue - I'm having trouble letting go).  I might have to ask Santa to put it under the tree FOR ME!! 

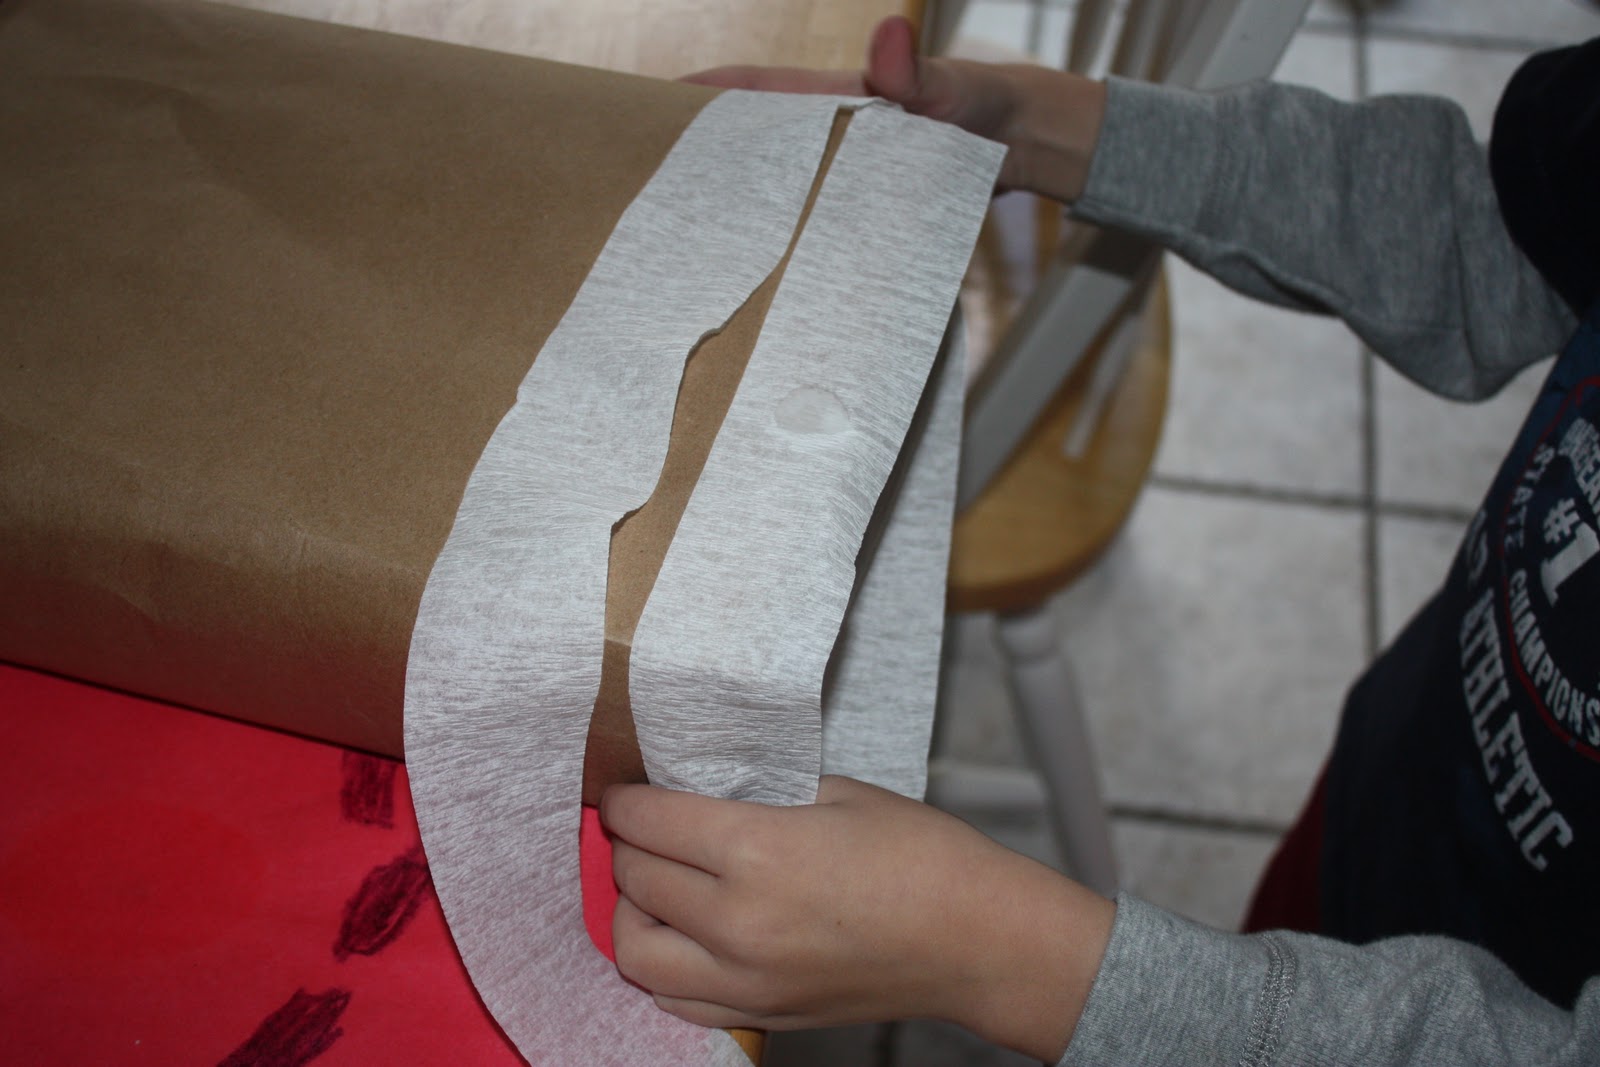
I am considering making a wheat doll with C and R.  I have reservations, however, because we will put in the time and effort to make the doll  and I am not so certain that they will ever play with it.  Unlike Mary Ann, C and R have FAR TOO MANY TOYS and many of them just sit on shelves or in toy boxes.


On another, somewhat related note, R does have a special doll and this seems like a good place to mention her.  Every night, R falls asleep with Sally tucked under her arm.  She is a Manhattan Toy Groovy Girls princess that was named Seraphina by someone, but R thought she looked like a Sally and there you have it.  Sally is certainly special to R and that makes her very special to me too.  Things like this bring tears to my eyes because I am weird like that.  R has had Sally for over a year and I hope she never loses her!

I am linking this post to What My Child is Reading - one of my favorite places to find great books for kids!
I also want to acknowledge Ticia from Adventures in Mommydom because I learned about this wonderful book in one of her blog posts.  Thanks Ticia!
 

Friday, October 29, 2010

A Ghost and a Jack O' Lantern


I really like the way these Halloween jars turned out.  C made the ghost and R made the jack o' lantern.  I cut out yellow tissue paper triangles for R to make the jack o' lantern face, and she insisted on drawing the face on the opposite side.  She really just wanted a turn with the Sharpie.

Materials needed:
  • clean glass jar
  • tissue paper
  • liquid starch
  • paint brush
First, C and R tore the tissue paper into small scraps.  Then they dipped the paint brush in the starch (you only need a small amount) and painted the liquid starch on the outside of the glass jars one area at a time.  Next, they applied the tissue paper pieces to the jar and painted on another layer of starch.  We left the jars to dry overnight.  They used a Sharpie to draw on the faces.


I placed flameless, battery operated tea lights inside the jars for this picture, but the real thing looks even better.

Check out the very cool candy corn votive made by Almost Unschoolers!!!  I loved it so much that I was inspired to do this fun craft with my kids.

Thursday, October 28, 2010

Pumpkin Story Hour

I hosted a pumpkin themed story hour at the coffee shop today.


We read:

Sixteen Runaway Pumpkins by Dianne Ochiltree - A raccoon named Sam has fun piling pumpkins into her wagon, doubling the amount from one to two to four to eight to sixteen.  When the wagon tips, she is worried, but Grandpa knows just what to do with those smashed pumpkins.

Duck and Goose Find a Pumpkin by Tad Hills - Duck and Goose are so cute, aren't they?  In this book they are looking for a pumpkin.

Five Little Pumpkins (the classic rhyme) with pictures by Dan Yaccarino - every preschooler knows this Halloween rhyme.

Piggies in the Pumpkin Patch by Mary Peterson and Jennifer Rofe - this is a cute book about pigs playing in a pumpkin patch and other spots on the farm while encountering different animals along the way.

For the craft portion of the story hour, we made pumpkin suncatchers.  I cut the pumpkin shapes out of contact paper ahead of time.  Each child was given a pumpkin shape, orange and green tissue paper, and a piece of ribbon.

  • First, the children ripped the orange and green tissue paper into tiny pieces. 
  • Then I put the moms to work peeling the paper backing off the sticky contact paper.
  • Next, the children covered the pumpkin shaped contact paper with the tissue paper.


  • Finally, we punched a hole in the stem and added some Halloween ribbon to make beautiful pumpkin suncatchers.


What fun would story hour at the coffee shop be without hot chocolate and cupcakes?!  Our story hour coffee shop provided both free of charge for all of the children.  How cool is that!


Special thanks to all of the moms and children who attended today, and a very special thank you to Cuppers Cafe for providing a welcoming, fun atmosphere for story hour and yummy treats for all of the kids!

I am linking this to stArt at A Mommy's Adventures where you can find fun crafts and art projects based on books.
 

Bat Pumpkin

Here is C's bat pumpkin.  Like I said, he LOVES bats!  This is the bat pumpkin he made this year:

To make this bat pumpkin, he used black acrylic paint, craft foam cut in the shape of bat wings, googly eyes, and candy corn.  I hot glued everything on for him at his direction.

I am always mentioning that C is a creature of habit and loves consistency and routine.  Just in case you doubted me, here is the pumpkin he made last year:


Both C and his pumpkin seem to have grown a bit! 

Wednesday, October 27, 2010

Upholstered headboards and more!

We are gearing up for the holiday season in our house, and that means looking at every room to figure out what needs to be cleaned, what needs to be reorganized, and what we may need to buy to complete a room.  In my search for a few household items, I came across some beautiful upholstered headboards.  I have never had an upholstered headboard, but I really like the look.  CSN Stores has them in every color and pattern imaginable.  I am especially fond of the Tufted Leather Headboard in brown.  

When CSN Stores contacted me about reviewing an item, I immediately found so many household items that appealed to me.  They have over 200 stores and I always turn to CSN Stores when I am shopping online.  I am still looking for things I actually need, and I will be posting a review of something I decide to review soon. 

This post was written in anticipation of an upcoming review post from CSN Stores.

Princess Pumpkin

This is the pumpkin R decorated this year.  She painted it and once the paint was dry, she covered it with glue, glitter, and feathers.  Then she added two googly eyes!!  I think it's so funny!  She thinks it is the most beautiful pumpkin ever!!!  Stay tuned, C's pumpkin will be featured soon.  Here is a hint though, he made the same kind of pumpkin he made last year!!! 

Tuesday, October 26, 2010

Halloween Lunch


C and R love the different books based on There Was an Old Lady Who Swallowed a Fly.  Currently, we are having fun with the Halloween version featuring an old lady who swallowed a bat.  While I was grocery shopping (convenient timing!), the idea of making a special lunch based on the book popped into my head. 

In the book by Lucille Colandro, the old lady swallows a bat, an owl, a cat, a ghost, a goblin, some bones, and a wizard.  Here is what I made:
  • I used a bat cookie cutter to cut a bat out of bread and then spread Nutella chocolate hazelnut spread on the bat shaped bread.  The red eyes are icing.
  • The owl is a piece of bread cut into an owl shape with peanut butter, white icing, chocolate chips, and a piece of candy corn on top.
  • I do have a cat cookie cutter but decided to just serve cat whiskers (pretzels).
  • The ghost was cut out of bread with a cookie cutter and the bread was topped with plain cream cheese and raisin features.
  • The goblin is a spinach leaf with raisin eyes and a dried cherry mouth.
  • I used my kitchen shears to cut a bone shape out of a marshmallow.
  • For the wizard, I cut a star out of a piece of cheese and placed it on a pretzel stick to make a wand.
R was very pleased with this special lunch and she loved gobbling up each creature as we read the book.  I will have to make this for C soon too.
 

Monday, October 25, 2010

Bats are in the Air


C loves bats.  He loves them so much that when each of the children chose an animal to adopt for Christmas, he chose the vampire bat. So, this time of year, we definitely have to do at least one bat craft.  I'm planning to make the bat cupcakes we made last year too.

Our simple bat craft this year required very few materials:
  • empty toilet paper roll
  • black card stock or construction paper
  • googly eyes
  • black paint (we used acrylic paint, but it isn't necessary; I just like the way it covers so well)
  • pipe cleaner (optional)
First, I folded one end of the toilet paper roll to make the ears.

Then, I folded the opposite end of the toilet paper roll in the same fashion, but perpendicular to the top fold.  This creates a great bat body.

This folding technique came from Filth Wizardry.

C and R painted their bats.  C painted his black, of course, but R insisted on painting hers purple!

Once the bats were dry, I cut some bat wings out of black card stock.  You can use construction paper, but I like the sturdiness of the card stock.  I just cut them out freehand, but DLTK has some bat wing templates if you need one.  We taped the wings onto the back of the bat body and then glued googly eyes on the front. 

C and R decided to tape a pipe cleaner onto the back of each of their bats so that they could fly them around the house.  Unfortunately, we didn't have any black pipe cleaners, but C was happy enough with purple.


The bats are happy to hang upside down (how else would bats hang?) in one of our trees when they are done flying!  The pipe cleaners came in handy for hanging.

We have a lot of favorite bat books, but here are a few that we are reading right now:
  • Stellaluna by Janell Canon - a baby fruit bat is separated from her mother and taken in by a family of birds; she must try to live like a bat, but luckily she eventually finds bats just like her
  • Bats at the Ballgame by Brian Lies - a group of bats have fun at the ball field
  • Bats at the Beach by Brian Lies - a group of bats enjoy a summer night at the beach
  • Bats at the Library by Brian Lies - a group of bats are thrilled when the librarian forgets to close the window and they can enjoy some great books
  • Bat's Big Game by Eugenia Nobati - a great lesson about sticking with your team whether you are winning or losing can be found in this book about a bat who wants to win.  This also introduces a little science - is a bat an animal or a bird? 
  • Five Little Bats Flying in the Night by Steve Metzger - a rhyming book that counts down from five, featuring five little bats getting into mischief
    I am linking this to What My Child is Reading at Mouse Grows, Mouse Learns.
      

    Sunday, October 24, 2010

    The Singing Glass

    This is a fun and easy science experiment.  The purpose of the experiment is to show how friction can cause a glass to vibrate.


    Materials:  stemmed glassware (thinner glass is better)
                     dish detergent
                     vinegar
                     small shallow bowl

    Procedure:
    1. Use the dish detergent to wash the glass and your hands.  Rinse well.
    2. Place the glass on a table.
    3. Pour a thin layer of vinegar into the small bowl.
    4. Hold the base of the glass against the table with your hand.
    5. Wet the index finger of your free hand with vinegar and gently rub your wet finger around the rim of the glass.
    Results:  The glass starts to sing when its rim is rubbed.

    Why?  Washing the glass and your hands removes any oil that might act as a lubricant.  The vinegar dissolves any oil that might be present and increases the friction between your skin and the glass.  Rubbing your finger around the rim causes the glass to vibrate because your finger skips and pulls at the glass.  The air inside the glass is struck by the vibrating glass and begins to move back and forth in rhythm with the glass.  The pitch of the sound you hear is due to frequency (number of vibrations per second).  It's all pretty cool.

    What good is posting a singing glass experiment without linking a video of C actually performing the experiment?!  Check this out:


    If you are reading this via email or in a reader, you will have to click through and view the video on my blog.  Come on, you know you want to see this.  C's reaction to the singing glass makes it all worth it.  It's a short video too, less than thirty seconds.

    I found this experiment in the book, Physics for Every Kid by Janice VanCleave.

    I am linking this post to Science Sunday at Adventures in Mommydom.  Click on over there to find more great science experiments.

    Saturday, October 23, 2010

    Haunted Cookie Cups


    I saw the directions to make these ghostly treats on the Very Best Baking site and could not resist making them. 

    Ingredients:
    1 package Nestle Toll House refrigerated chocolate chip cookie bar dough
    1 container of whipped topping
    1 gallon size plastic food storage bag
    48 mini chocolate chip morsels
    24 chocolate chip morsels (regular size)

    Directions:
    Preheat oven to 350 degrees Fahrenheit.  Grease 24 mini muffin cups.


    Place one square of cookie dough into each cup.

    Bake for 15 to 17 minutes or until golden brown.  Cool completely on wire rack.  Remove cookie cups from muffin pan with tip of a butter knife.

    Fill plastic bag with whipped topping and seal the bag.  Cut 1/2 inch from corner of bag.  Squeeze bag lightly to pipe topping on top of cookie cup to form ghost shape.  Position two mini morsels as eyes and one regular size morsel as a mouth on each ghost.


    Serve immediately or store refrigerated for up to two hours.

    Friday, October 22, 2010

    Stamping a Pumpkin Patch


    Kids love to stamp.  Well, at least my kids do.  They seem to enjoy stamping with recycled items even more than using the store bought stampers we own. 

    C and I mixed up some orange paint and he used a cork stopper to cover a piece of paper with pumpkins.  Then, he added some details with marker and stuck on some Halloween stickers. 

    Thursday, October 21, 2010

    Shout! Go Play!


    The weather has been so beautiful for outdoor play.  We have enjoyed corn mazes, hay rides, leaf walks, and good old fashioned outdoor fun.  I also have all three children playing soccer this season, and T is playing football!


    All of that outdoor fun has resulted in a lot of dirty laundry, but I recently received some great products free from Shout.  I had never used Shot products before, and I am truly impressed with the stain fighting, especially on T's white football pants!


    The Shout Triple-Acting spray and Shout Advanced stain stick have seriously removed the worry of stain fighting.  I was so surprised to see T's football pants come out of the wash without any remnants of the mud and grass stains that I had been battling!  I also LOVE the Shout Color Catcher sheets.  I don't have to worry about T's white football pants turning pink!


    I also received a 52 Nature Activities card set. This deck of cards has ideas for games, activities, and art projects that are great for the backyard, a park, or anywhere you find a patch of grass.  They can also be used with one child or a group of children.

    Studies show that unstructured play helps kids build fundamental skills like problem solving, coping, and conflict resolution.  Shout has developed a Go Play initiative to help educate parents on the benefits of unstructured play and to inspire families to get outside and play.  There is so much great information to be found there.  Definitely check it out by clicking on the link in this paragraph.

    This opportunity was made possible through my membership in the Growing Tree Toys Blog Network.  Growing Tree Toys is a great place to find learning toys and fun playthings for kids.  Are you a blogger interested in joining the Growing Tree Toys Blog Network?  Click here to learn about the program.

    Easy Mummy Craft

    C loves to come home from school and make something fun.  He was very excited to make a mummy. 


    I used an empty cereal box, brown craft paper (you could use paper grocery bags), and crepe streamers (I used the whole roll) to create this mummy.


    First, I used the brown craft paper to wrap the empty cereal box just like I would wrap a present.  This step is necessary or you will see the print on the cereal box through the crepe streamers.  I liked the brown because I thought it created the right background for the mummy, but you can use brown paper or paper bags instead of craft paper.


    Then, C and I worked together to wrap the box with crepe streamers.  Every once in a while, he would place a piece of clear tape somewhere on the back to keep the streamers in place. 


    Once he was satisfied with the wrapping, he used a black marker to draw eyes and a mouth.  This was easy and fun - perfect for a quick after school craft.


    C, R and I enjoyed reading Where's My Mummy? by Carolyn Crimi.  This book features a little mummy who wants to play one more game of "hide and shriek" before going to bed.  Baby Mummy starts off his game in the cemetery and ventures off into other scary places. Baby Mummy meets a variety of scary creatures without showing any fear.  It's only when the creature that is not scary at all (I don't know why I said not scary at all, it's a mouse, and I would scream like a baby if I saw a mouse cross my path) crosses his path that Baby Mummy calls out in fear for his mummy.  The rhymes in the book are fun and the book is delightfully spooky without being scary.  

    I am linking this to stArt at A Mommy's Adventures.

    Wednesday, October 20, 2010

    The Two-Faced Jack O' Lantern

    My husband placed his empty seltzer bottle on the counter and instead of seeing an empty seltzer bottle, I saw the opportunity to create a jack o' lantern.  I think the green cap helped. 


    First, we squeezed a little red paint and a little more yellow paint into the bottle.  Of course, I asked the kids what colors we needed to make orange before we actually got the paint.  I never buy orange or green or purple paint because I like that we have to think about mixing colors to make the colors we want. 


    Then we took turns shaking the paint all around the inside of the bottle.  Once the bottle was completely orange on the inside, C and R used a sharpie to draw faces on the bottle. 


    We only had one bottle at the time, so we have a two-faced jack o' lantern.  I have to go buy more seltzer!


    Tuesday, October 19, 2010

    Ghosts and Pumpkins

    Footprint ghosts and handprint pumpkins are a Halloween tradition in our house.  To make the ghosts, I painted R's foot and toes white.  Then she made footprints on black construction paper. 


    She added googly eyes and drew mouths and hair on her ghosts.  I cut them out, punched a hole in the top of each ghost and we hung them in the windows.


    To make the pumpkins, I painted her palm orange and she made prints on construction paper.


    Once the prints were dry, she drew stems on her pumpkins.  I cut them out and she glued them onto cereal box cardboard.  She added some Halloween stickers to complete her spooky pumpkin patch.